
Click Next to select language

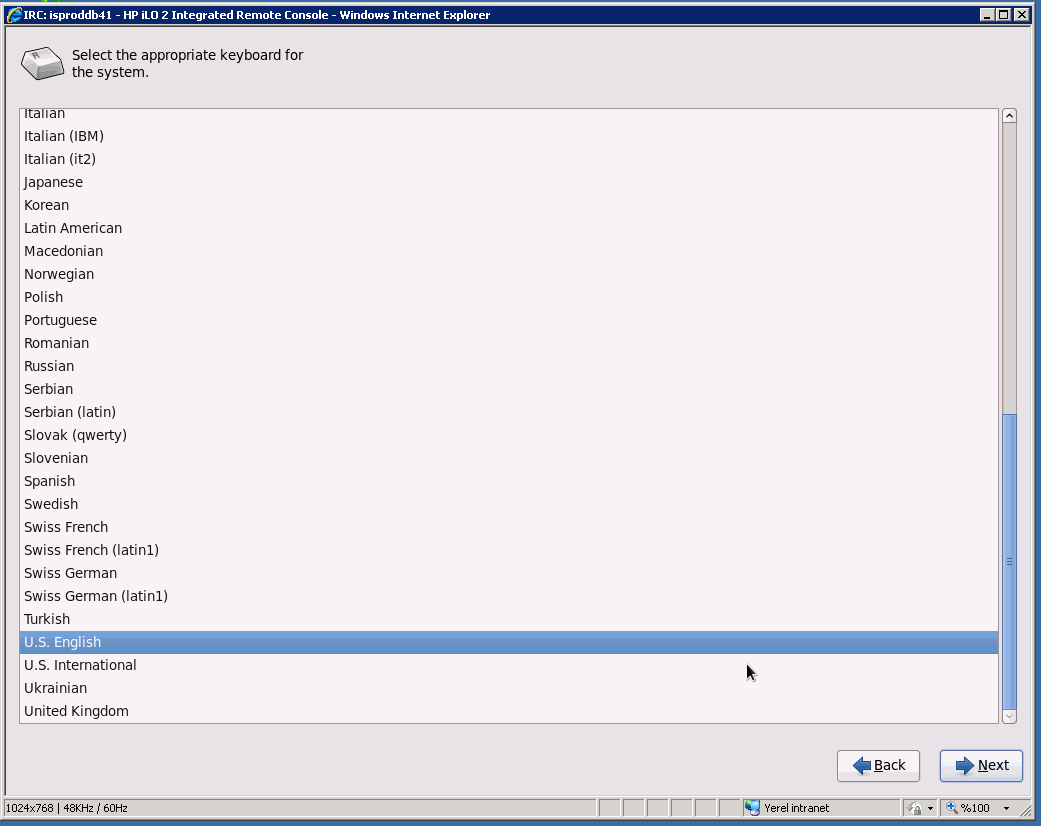
and keyboard language

Select what kind of devices u want to install if u think of installing oracle database and create SAN disks after installation then choose "Basic Storage Devices"

Define localhost hostname

Select your time zone

Enter root password and verify it

Click "Review and modify partitioning layout" and chose "Use All Space"

Calculate how much swap u should give and create root and swap partition as a result of calculation.You can simply calculate your swap with this formula; if your server got less than 16 gb Ram then give swap (Ram*2) gb if your server got more than 16 gb Ram then give swap (Ram+2gb).My server has 32 gb Ram so i give 32gb+2gb=34 gb swap partition and the rest of size is root partition.I prefer ext3 for boot cos of more reliability but you can also chose ext4..

Click "Write changes to disk"

Leave default parameters and press next

Choose Basic Server and Customize now and press Next

make sure all boxes are checked on Desktops Section and then next..(You can also check other sections and install what you need)

Installation Screen

Click Reboot to complete installation..Before pressing reboot umount Oracle Installation ISO..

Click Forward

Accept license Agreement and then click Forward

If internet connection is available then you can register ULN TO update softwares

You can create additional user now or after installation is completed...

Set the date and time of system

At last finish installation...

Congratulations.. Oracle Linux 6.3 installation is completed..
No comments:
Post a Comment